Drupal 7 - Resize an image in the Body content
If you have a very high resolution image that you want to display at a smaller size, it is best to resize the image closer to the actual desired display size. This will help to make the load time for your page faster.
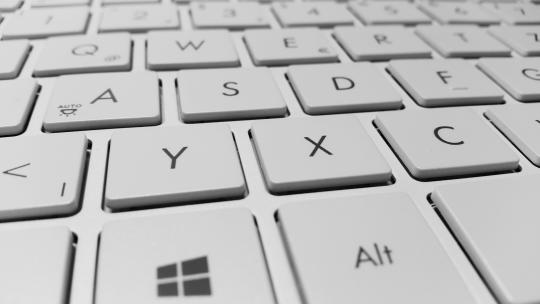
For example, here is an image that is high resolution, but displayed at a smaller size. You can right-click on the image, and open it in a new tab to see the actual size.
Instead, when inserting an image, you can use Drupal's Resize command to make a smaller version of the image.
- Make a new draft of the page.
- Click in the content where you want to insert an image and click the Image button in the HTML editor toolbar.
- If the image is already in the page, right-click on it and select image properties.
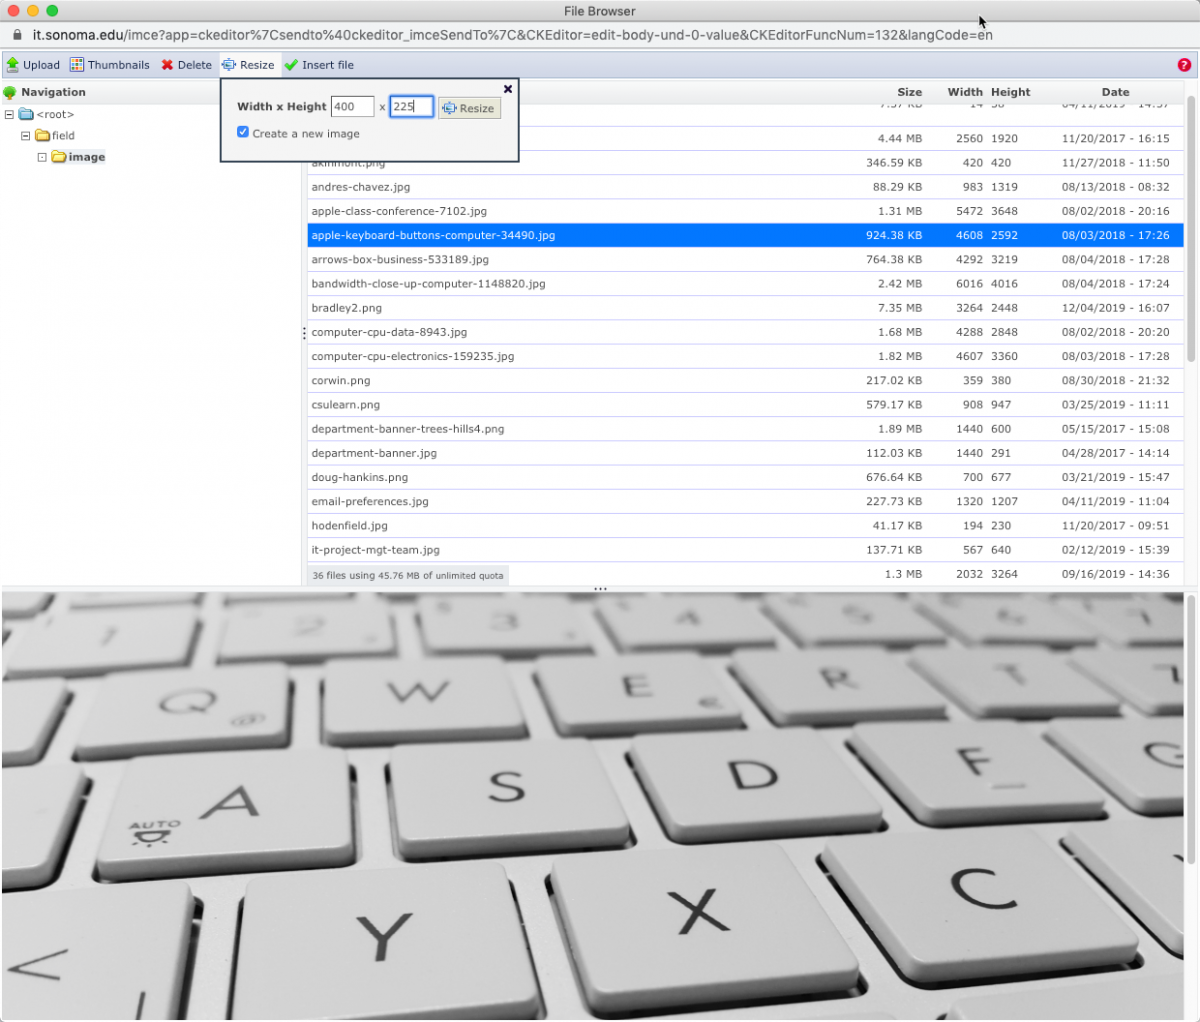
- Click Browse Server.
- Find and select your image. You will be able to see the size in pixels and KB in the file selection window.
- Click Resize.
- Enter a desired width or height in number of pixels. Click into the other dimension field and Drupal will automatically insert the appropriate scaled size.
- Make sure Create a new image is checked.
- Click the Resize button.
- A new version of your image will appear. Usually, it will use the same filename, but with an "_0" at the end.
- Click Insert.
- Add alt text.
- Click OK.
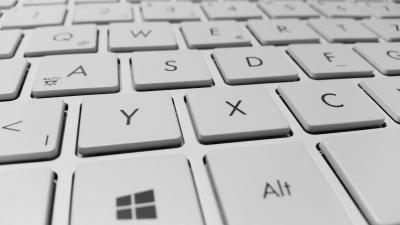
Here's an example of the same keyboard image after resizing. If desired, you can resize the image to be a little bigger than the intended display size, and adjust or fine tune the display size in the image properties.
You can also use this method when making an image open in a lightbox. Use the smaller version of the image in the page, and link to the larger version of the image with the lightbox link. Here's a screenshot of what that looks like. Click to zoom in: