Using an Adobe Sign Template
To use an existing template in Adobe Sign online:
- Log into Adobe Acrobat Sign.
- Click the "Start from Library" button.
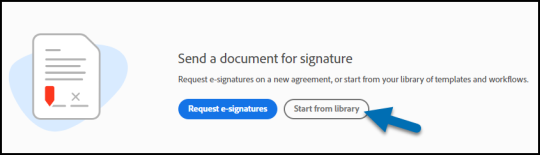
- Use the search bar to find the template you want to use and click "Start."

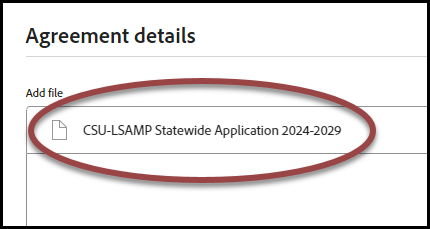
On the next page, you'll see that your template file has been loaded for you.
- Add a recipient email address in the Email field. Click the "Add recipient" (plus sign in a circle) button to add as many recipients as you need. Enter the email address for each one.
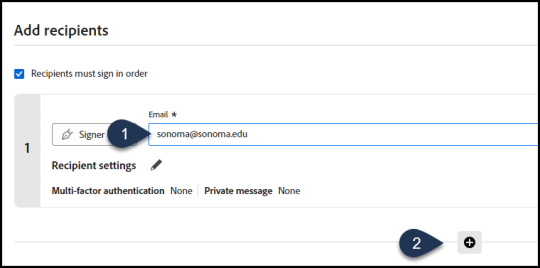
- Click "Preview & add fields."
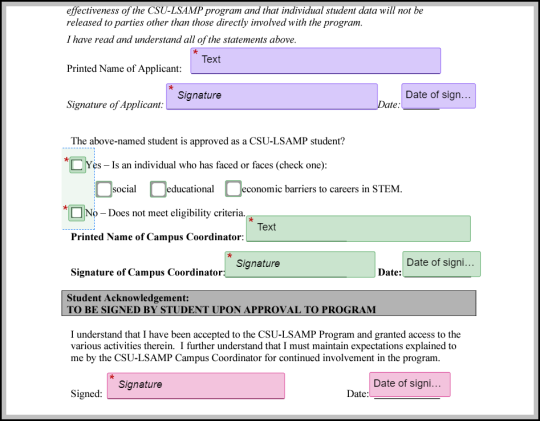
You'll see the document with fillable fields and signature fields highlighted. Each signer will have a different color field assigned to them. In the sample below, there are three different signers. You can adjust and add fields from this page, but generally a template will have been set up with all the fields you need assigned to the correct recipients based on the emails you entered in the last step.
- When you're satisfied with your document, click "Send."
Emails will be sent to your recipients notifying them of the signature request, and all parties will receive a copy of the fully executed document once it is complete.