SSU-SECURE Wi-Fi Access on Mac OS X and MacOS
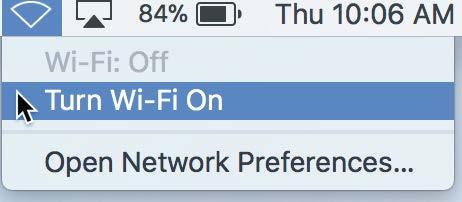
Open the wireless menu in top right corner and ensure that Wi-Fi is turned on.

Once you are connected to Wi-Fi, select the SSU-SECURE network.
You will be prompted to enter your credentials. Leave the mode set to “Automatic” and enter your Seawolf ID and password. (Remember that your SeawolfID is not your entire email, just the username.)
After successfully entering your credentials, you may be asked to verify the hyperion.sonoma.edu certificate. Click Continue.
Enter your computer login credentials and Update Settings. You should now be connected to SSU-SECURE.
If you are having any issues connecting to SSU-SECURE, you may need to forget the network then reconnect. To forget the wireless network SSU-SECURE, click the magnifying glass in the top right corner and type “System Preferences”. Highlight System Preferences and hit enter.
Select “Network” from the system preferences panel.
The Network preferences panel will open. Make sure you have highlighted “Wi-Fi” in the left sidebar. Then click the “Advanced” button in the bottom right corner of the menu.
In the Wi-Fi advanced menu, make sure you are in the “Wi-Fi” tab. Highlight the SSU-SECURE network under Preferred Networks. Click the minus button underneath Preferred Networks. You have now successfully removed the SSU-SECURE network. Click OK to finish. Follow steps 1-5 above to reconnect.

